How to connect your CCPS laptop to your home Wi-Fi
Follow the directions below to connect your student laptop to a wireless network. The step number corresponds to the number in the image. *Please note that this does not need to be done in a CCPS building as the laptop will connect automatically to the CCPS network.
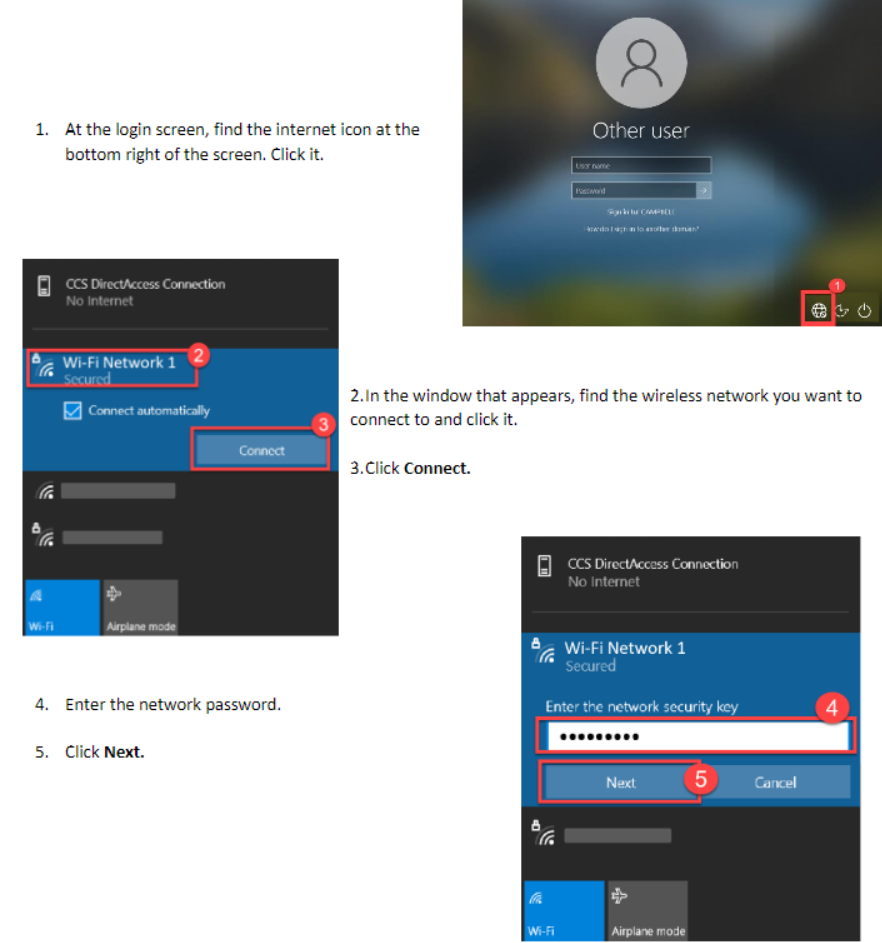
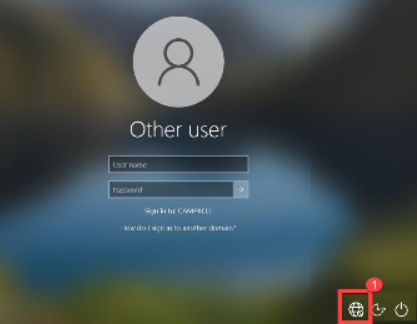
- At the login screen, find the Internet icon at the bottom right of the screen and click it.

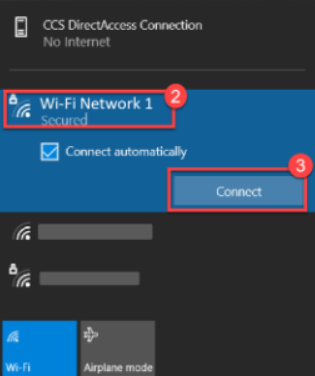
- In the window that appears, find the wireless network you want to connect to and click it.
- Then click Connect.
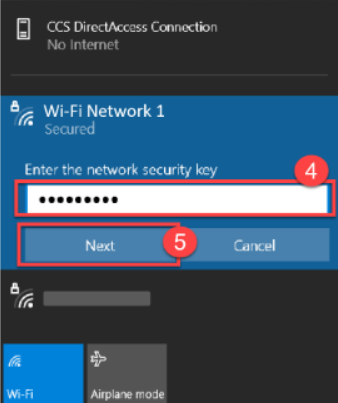
- Enter the network password.
- Then click Next.
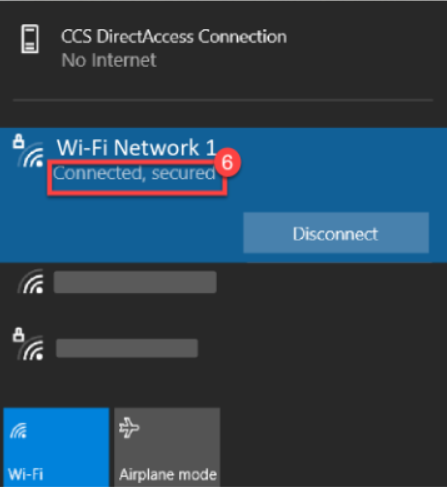
- You should now be connected to the wireless network.

- The network icon on the bottom right of the login screen should change from
 to
to  indicating that the laptop is connected.